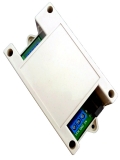
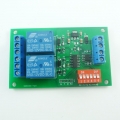
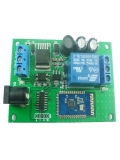
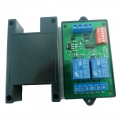
Product Name: 0-30A 7.4V 12V 14.8V 24V 48V Lead-acid Ni-Cd Ni-MH Li-ION Li-PO Lithium battery Charging Protection Board Module
Packing list:
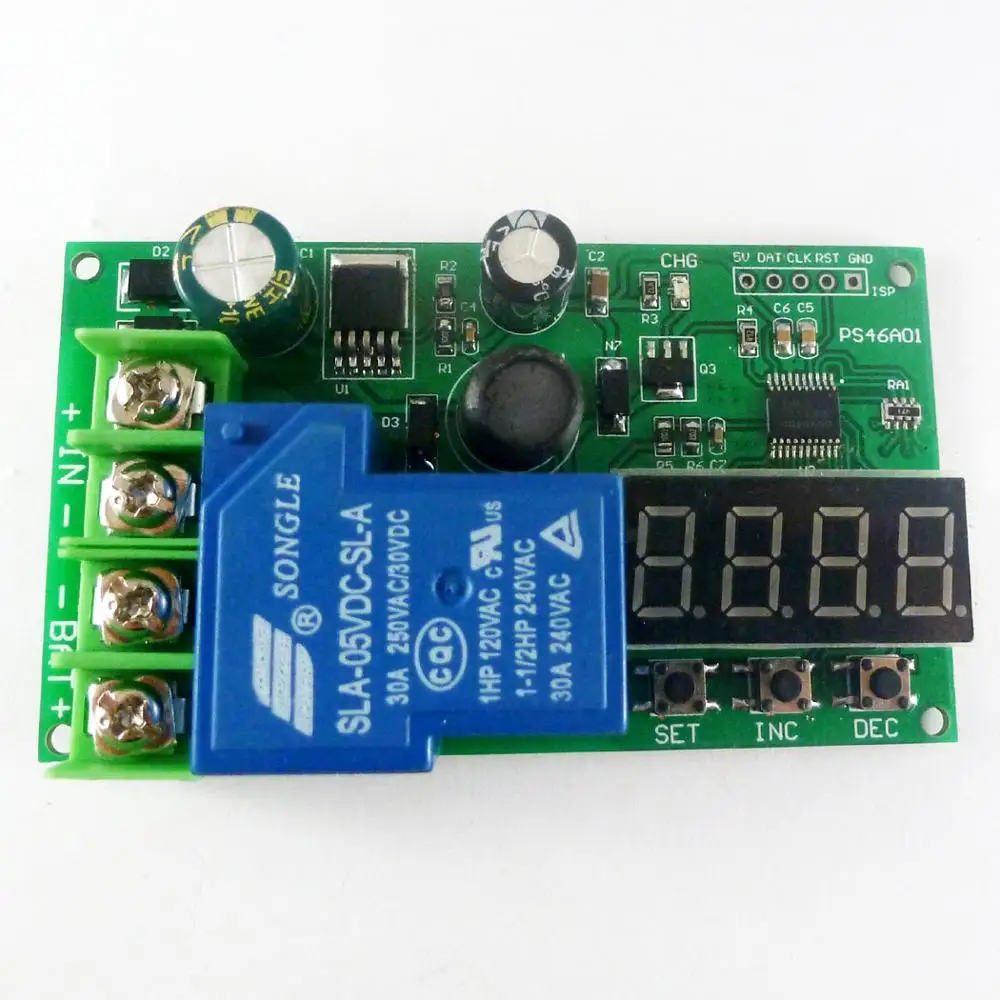
1 PCS 6-60V Lead-acid & Lithium Battery Battery Charging Protection Board
New version features:
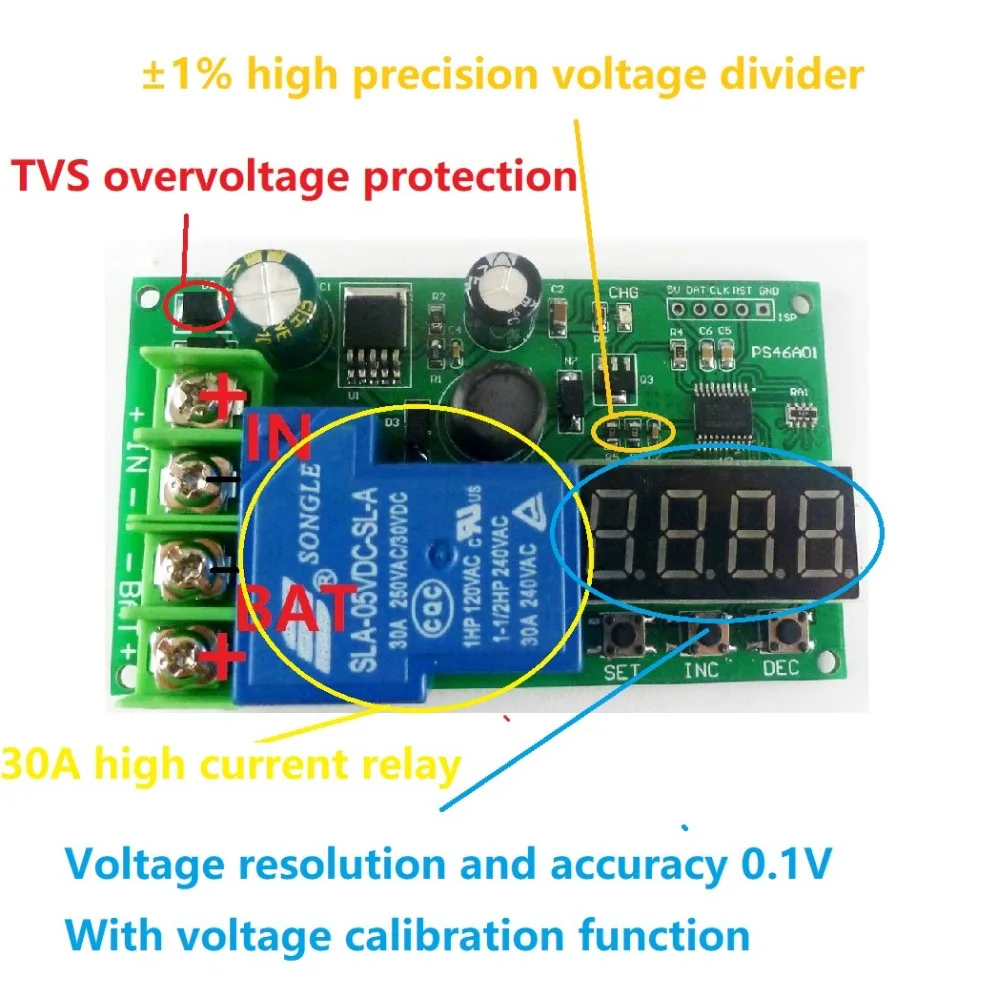
1 Power supply TVS surge protection, when the power is on, the power supply has instantaneous high voltage, TVS can reduce the instantaneous high voltage, protect the circuit.
2 1% high-precision divider resistors make the measurement voltage more accurate. The old version of the divider resistor is 5% accurate.
3 Voltage accuracy and resolution is 0.1V, and with a calibration function.
4 Reduce the brightness of the digital display, save energy and protect your eyes.
5 parameter power-down save, to avoid duplicate settings.
6 Set the cutoff voltage and start voltage to the lowest (<6V), which can be used as a voltmeter to measure 7-60V voltage.
7 It has Energy-Saving Mode and restore Factory-Settings.
Product Specifications:
Operating voltage: DC 6-60V.
Operating current (12V): Standard mode, standby current 10MA; charging current 130MA;
Energy-Saving mode,Standby current 5MA; Charging current 125MA.
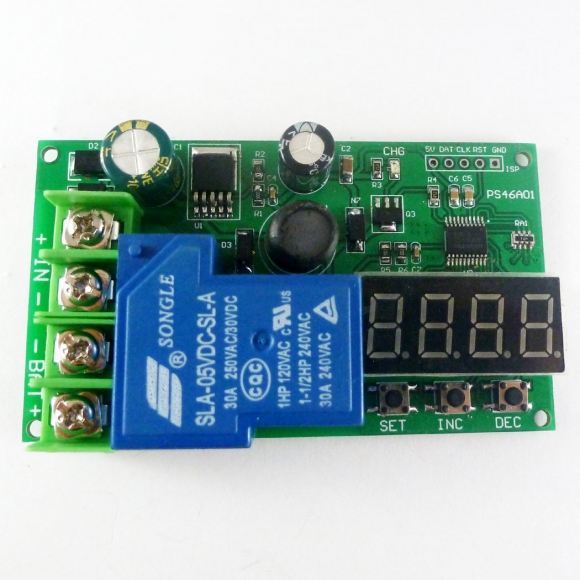
3 control buttons, 4 bit digital display, 1 LED charge indicator.
Mode: Standard-Mode, Energy-Saving Mode, Setup-Mode, Voltage-Calibration, Factory-Settings.
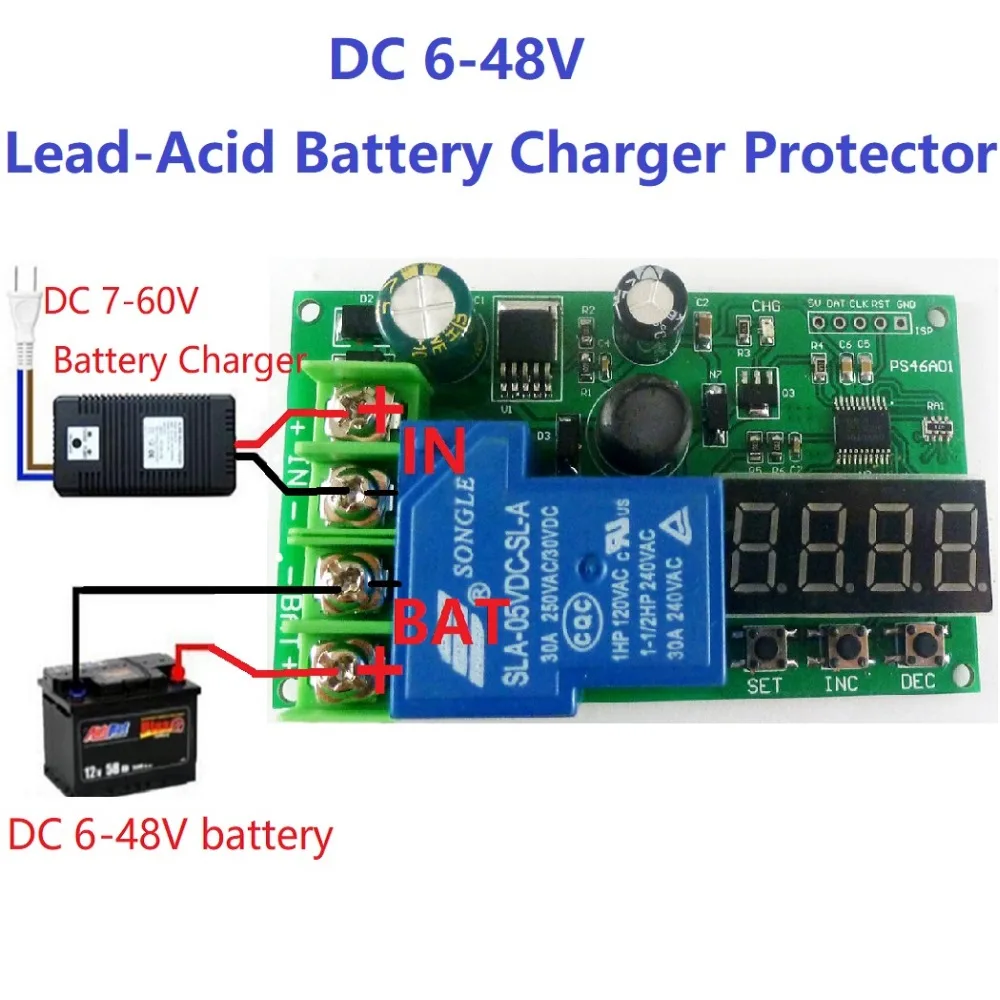
Can control 6-48V lead-acid battery/lithium battery charging, charger voltage range is DC 7-60V .
The default Start charge voltage is 12V. Cutoff charge voltage 14.8V
Relay maximum load current: 30A 250VAC/30VDC
Size : 80 x 46x 24mm
Weight : 53g
Applications:
Car battery charging
Solar battery charging
Mobile Loadspeaker
Lead-Acid Battery Charger
Electric Bicycle Charger
UPS
Portable Industrial and Medical Equipment
Standalone Battery Chargers
Lead-acid /Ni-Cd / Ni-MH / Li-ION /Li-PO /Lithium battery
For more details, please see below description or contact us for instructions
Standard-Mode:
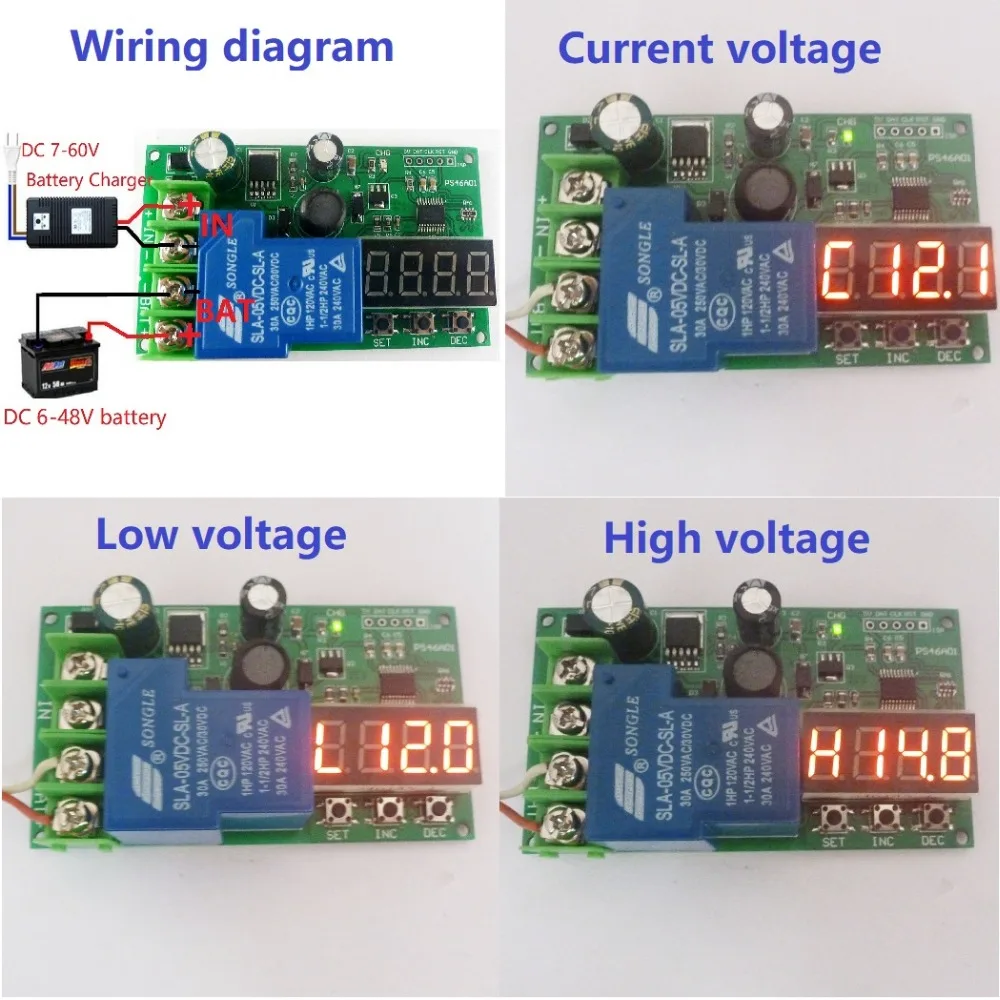
After connecting the battery, enter the Standard Mode (default), and display the current battery voltage(Current Voltage)
Energy-Saving mode:
In standard mode, press and hold the ''SET'' button to enter the Energy-Saving Mode. After power on again, it will still enter the Energy-Saving Mode. In the Energy-Saving Mode, the digital tube is not displayed, and other functions work normally. In the Energy-Saving mode, press and hold the ''SET'' button, exit the Energy-Saving Mode, and enter the Standard Mode.
Setup-Mode (see Operation Steps for details):
Set the Cutoff-Voltage(High voltage):
In the Standard-Mode, press and hold the ''INC'' button (or trigger the ''SET'' button after triggering the ''INC'' button) to enter the Cutoff-Voltage Setup-Mode.
Set the Start-Voltage(Low voltage):
In the Standard-Mode, press and hold the ''DEC'' button (or trigger the ''SET'' button after triggering the ''DEC'' button) to enter the Start-Voltage Setup-Mode.
In the Setup-Mode ,triggering the ''INC'' button increases the voltage and triggers the ''DEC'' button to decrease the voltage. Long press ''INC'' or ''DEC'' button to quickly set the voltage.
Voltage-Calibration:
Press and hold the ''SET'' button first, and then power on again to enter the Voltage-Calibration mode(Note: press the button ->power on).
For example, the power supply voltage is 12.00V and the module display voltage is 12.34V. At this time, calibration is required.
1.Press and hold the ''SET'' button first, and then power on (be sure to press the button first, and then power on), then the digital tube displays 12.34V;
2.Trigger ''DEC'' or ''INC'' button, let the digital tube display 12.00V
3.Trigger the ''SET'' button again to save the parameters. (If you do not want to save the parameters, please power off)
Factory-Settings:
In the Standard-Mode, press and hold the ''SET'' and ''INC'' buttons at the same time, until the digital display shows''8888'', at this time, restore the factory settings, Start-Voltage is 12V, Cutoff-Voltage is 14.8V. (Note: voltage calibration parameters cannot be reset to factory settings)
Operation Steps (must follow the steps):
Example 1: We want to charge a 12V lead-acid battery, start charge voltage is 11.8V and cut-off charge voltage is 14.5V.
Step 1: Connect the battery's positive and negative ports to the module's BAT+/BAT- ports (to ensure that the battery has more than 20% of the capacity); the digital tube will display the battery voltage (such as the battery voltage is 12.1V, the digital display will show ''C12 .1'')
Step 2: Trigger the ''INC'' button, the digital display will show ''H14.8'', then trigger the ''SET'' button, ''H'' will flash, this is the Cutoff-Voltage setting mode.
Step 3: In the Cutoff-Voltage setting mode, trigger the ''INC'' button to increase the voltage and the ''DEC'' button to decrease the voltage. Long press ''INC'' or ''DEC'' button to quickly set the voltage.
Step 4: Set the voltage to ''H14.5'' and trigger the ''SET'' button to save the settings.
Step 5: Trigger the ''DEC'' button, the digital display will show ''L12.0'', then trigger the ''SET'' button, ''L'' will flash, this is the Start-Voltage setting mode.
Step 6: In the Start-Voltage setting mode, trigger the ''INC'' button to increase the voltage and the ''DEC'' button to decrease the voltage. Long press ''INC'' or ''DEC'' button to quickly set the voltage.
Step 7: Set the voltage to ''L11.8'' and trigger the ''SET'' button to save the settings.
Step 8: Re-power,disconnect the battery, then connect it again.
Step 9: Connect the charger's positive and negative ports to the module BAT +/BAT- ports
Step 10: Power on the charger, charge the battery.
Example 2: Cutoff-Voltage and Start-Voltage has been set, direct charge.
Step 1: Connect the battery's positive and negative ports to the module's BAT+/BAT- ports (to ensure that the battery has more than 10% of the capacity); the digital tube will display the battery voltage (such as the battery voltage is 12.1V, the digital display will show ''C12 .1'')
Step 2: Connect the charger's positive and negative ports to the module BAT +/BAT- ports
Step 3: Power on the charger, charge the battery.
Q&A:
Q1: The suitable battery voltage? Types of Batteries?
A1: Battery voltage : 6V 8V 12V 16V 24V 48V Lead-acid battery; 7.4V, 11.1V, 14.8V, 18.5V... 44.4V lithium battery.
Battery type : Lead-acid /Ni-Cd / Ni-MH / Li-ION /Li-PO /Lithium battery.
Q2: Can parameters be saved after power off?
A2: Yes, the parameters can be saved when powered off.
Q3: Why does the digital tube not display when the charger is connected?
A3: You may not have connected the battery. Please connect the battery first and then connect the charger.
Q4: Why does the digital tube not display after the battery is connected?
A4: 1. It may be that the battery capacity is too low. Please charge the battery with the charger first.
2. Poor connection or reverse polarity
3. It is possible that the module has entered the Energy-Saving Mode,press and hold the ''SET'' button until the digital display.
Q5: Why can't I increase the ''Start-Voltage''?
A5: Please increase the Cutoff-Voltage first.
Q6: Why relay turn on and off frequently?
A6: 1 It may be that the charging current is too high, or the battery capacity is too small.
2 may be ''Start-Voltage'' and ''Cutoff-Voltage'' too close.
Q7: What is the control method? It can automatically cycle charging? Can I discharge when charging? Can it limit the current?
A7: 1 This is a voltage control method
2 Yes, can automatically cycle charging; for example: ''Start-Voltage'' is 12V, '' Cutoff-Voltage'' is 14.8V, when the voltage is charged to 14.8V to stop charging, when the voltage is lower than 12V to start charging.
3 Yes, you can discharge when charging.
4 No,this module can only control the voltage and cannot control the current. Can not limit the current, the size of the current depends on your charger and battery capacity.
Q8: Can a 15V charger charge a 24V battery or can a 32V charger charge a 12V battery?
A8: No, this module is just a switch, there is no boost and buck function. Please use a suitable charger to charge the battery.


